Page 2

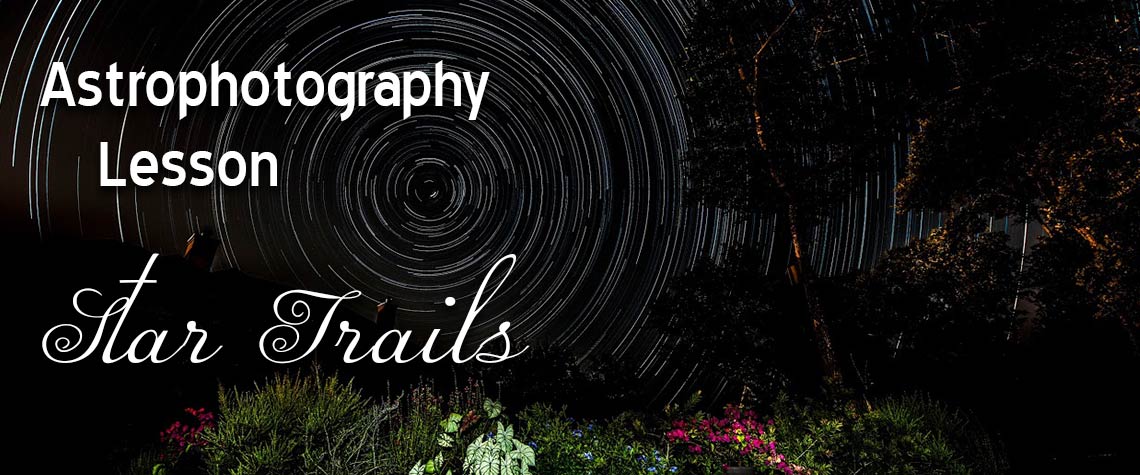
Astrophotography Lesson - Star Trails
Article and Photos by Randall Light, M.D.
Email: randylightmd@yahoo.com
Website: www.randalllight.com
When photographing stars, the goal is usually to record sharply focused, round stars. The presence of elongated stars or star trails usually signals a problem. However, intentionally creating star trails can produce an attractive, interesting image.
The longer the exposure time the longer the line drawn on the film or sensor. Because the earth rotates at a rate of 15 degrees per hour, it takes several hours of shorter exposures to obtain images with long star trails. This article will discuss how to create images with long star trails similar to Figure 1 below.
First, the equipment needs are more modest than required for most astrophotography. A DSLR camera with manual controls, a wide-angle lens, a tripod, and usually an intervalometer are needed. Fresh, fully charged batteries are a must. A wide-angle prime lens that can be set to f/2.8 or faster is desirable. When using a full frame DSLR, a wide-angle prime lens in the 14mm to 28 mm range can be used. I frequently use a 20mm f/1.8 lens. When using a crop sensor DSLR, a prime lens in the range of 10mm to 20mm is suggested. Next, the tripod is setup and leveled. The camera is mounted to the tripod. Focus is set to manual and the lens is focused on a bright star. The intervalometer is attached to the camera. A typical setup is shown in Figure 2.
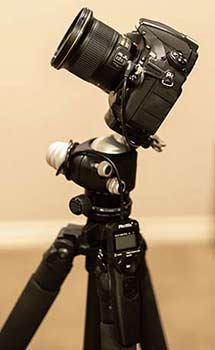
Figure 2
The longer the exposure the fewer gaps there are in the star trail. ISO is set to obtain a dark but visible image with clearly visible stars. ISO 800 is a good starting point for 30 second exposures. ISO 100 is appropriate with four-minute exposures. Another advantage of longer exposures is a reduction in the background noise in the image. Higher ISOs produce more noise. Take some test images to determine the final camera settings.
Most cameras with manual controls can make exposures up to 30 seconds in duration. To take multiple long exposure images an intervalometer is used to control the number of images and the exposure time. The total duration of all the exposures ranges from 45 minutes to 4 hours. A longer total exposure produces longer star trails. Take as many images as your time and patience allow. During a four-hour period, a star will move through 60 degrees of arc. Four hours of four-minute exposures will produce 60 images. Four hours of 30 second exposures will produce 480 images with eight times as many gaps in the star trail. The equipment needs to be monitored during the exposures to be sure the battery is supplying power, the image remains focused, and that the lens does not have dew forming on it. A single four-minute exposure is shown in Figure 3.
Once the set of exposures is obtained, they need to be combined into a single image. This can be done several different ways. If you have access to Photoshop, the process is particularly easy.
- In Photoshop select File —> Scripts —> Load Files into Stack.
- Select all of the star trail images.
- When the files are loaded into a stack of multiple layers, select all but the last layer.
- On the Layers tab change the blending mode from Normal to Light. This will allow the brightest pixels in each image to be shown and the entire star trail will appear.
- If there are airplanes, satellites, meteor trails or other artifacts, those layers can be deselected as necessary.
- Next on the Layers menu select Flatten Image. Image editing can be completed on this image.
Alternately, StarStaX is free software for Window, Mac, and Linux that will combine the individual images and fill-in the gaps in the star trails. This software and documentation are available here. An image produced with StarStaX is shown in Figure 4. Total imaging time was 3 hours and 40 minutes.
Please post any images you create to the BVAC Yahoo Group.
Click the thumbnail to see a larger photo.
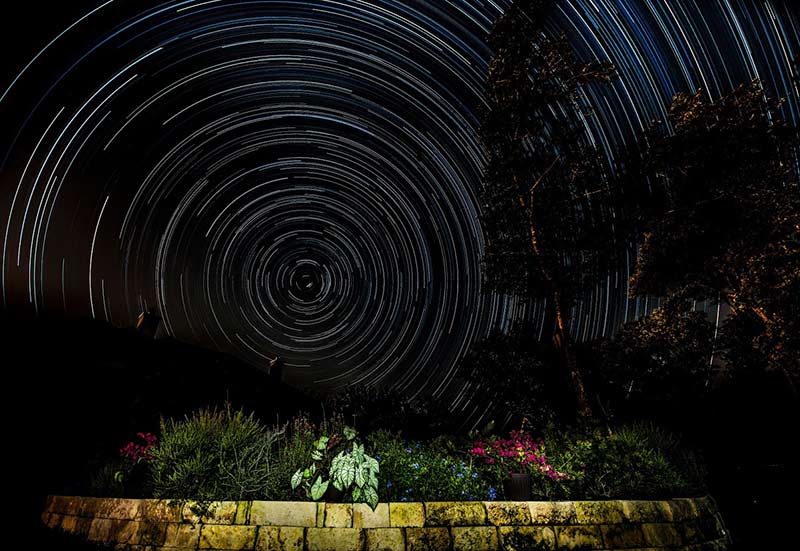
Figure 1
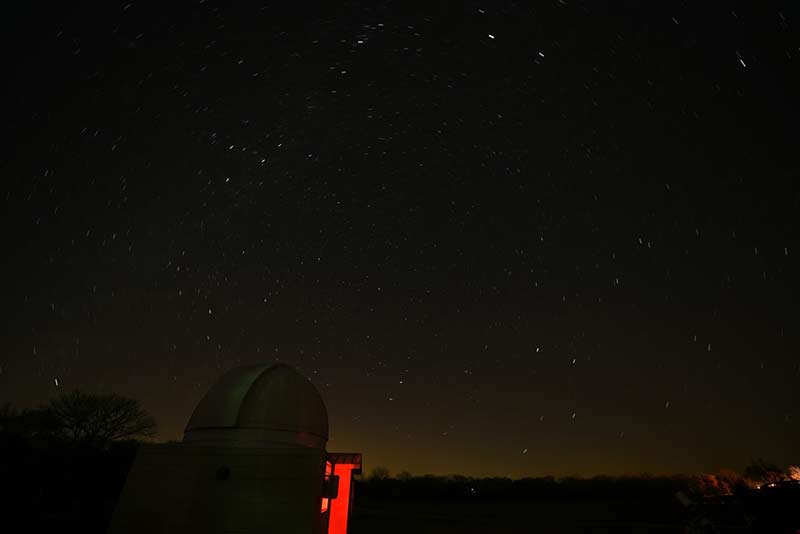
Figure 3
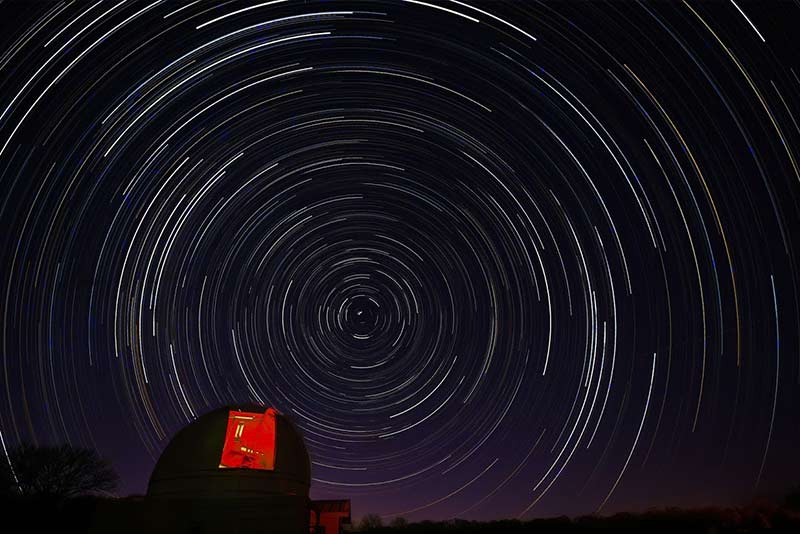
Figure 4
