Page 3

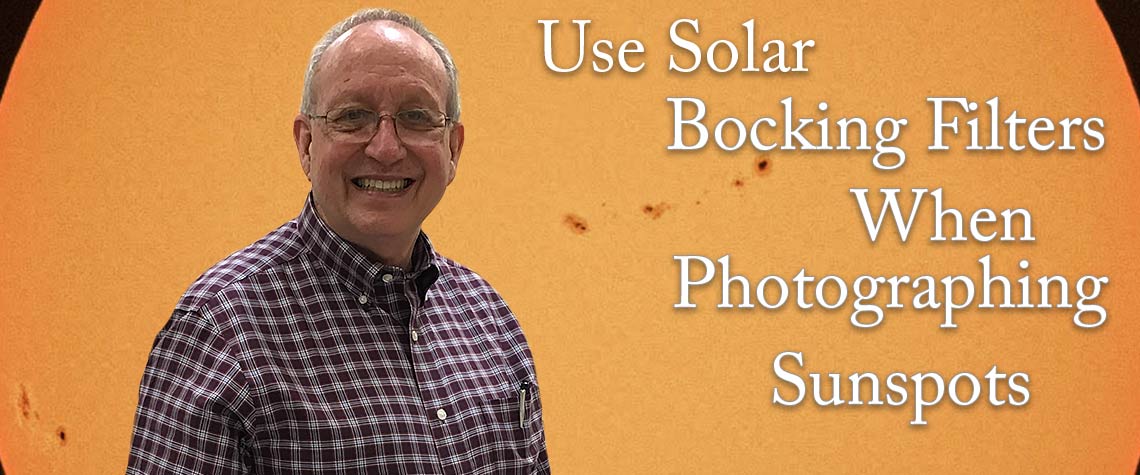
Photographing Sunspots
Article and Photos by Randall Light, M.D.
Email: randylightmd@yahoo.com
Website: www.randalllight.com
The sun has multiple layers. The photosphere is the visible outer surface of the sun. This area is magnetically very active. Intense interactions in this magnetic activity give rise to cooler dark appearing areas that can be as large as a planet. These cooler, darker areas are sunspots. The solar activity that generates sunspots follows an eleven year cycle with more sunspots at the peak of the cycle and fewer sunspots at the trough of the cycle. The trough of the current cycle is forecast to occur in 2019. The current appearance of the sun is monitored by the Solar and Heliospheric Observatory (SOHO). Current real time images can be seen here.
Initially, photographing sunspots can be done with a DSLR camera, a telephoto lens or telescope, a tripod or telescope mount, and dedicated solar blocking filters. To routinely see the texture of the solar surface, solar prominences and many other features of the sun requires a solar telescope with appropriate narrow band filters.
A list of equipment to begin photographing sunspots follows.
- A stable platform is essential. This can be a sturdy tripod or a telescope mount with the option for solar tracking. The latter will help keep the solar imaged framed and reduce the number of manual adjustments required.
- A DSLR camera with manual controls for shutter speed, aperture, ISO, and focus is best.
- Be sure to have a memory card with adequate free space available to record your images.
- A telephoto lens or telescope with a focal length of 400mm to 1000mm. The sun is one half of a degree in diameter. At 1000mm the full frame DSLR field of view is 2.0 x 1.33 degrees. With a DX sensor DSLR the field of view is 1.33 x 0.9 degrees. Fill as much of the field of view as you can with the available equipment. I typically use a full frame DSLR and a focal length of about 800mm.
- Although the sun is large, it may still help to have a red dot finder or finder scope to use when centering the sun in the camera frame.
- Solar blocking filters are an absolute necessity! Directly viewing the sun through a telephoto lens or telescope without blocking filters places the viewer at high risk of immediate and permanent visual loss. Similarly, a camera sensory can be damaged by direct exposure to the sun. A commercial blocking filter on the front of the lens or telescope reduces the amount of visible, UV, and IR light reaching the eye or camera sensor to safe levels. Only commercial filters designed for this purpose are recommended. Don't try to use photographic neutral density filters. They are not likely to adequately block enough light. Don't use eyepiece blocking filters. They will get excessively hot. Small, do it yourself, blocking filters for the finder scope and red dot finder are possible with filter material made for this purpose. If you take this approach, be sure to check for light leaks. Don't take the risk of losing your vision.
- A telescope with a front solar blocking filter made by Thousand Oaks Optical is shown in Fig. 1. The front mount solar blocking filter blocks 99.999% of the solar energy striking it from entering the telescope.
- A finder scope with a DIY solar filter made from a dust cap and solar blocking filter material is shown in Fig. 2.
- A red dot finder with a solar blocking filter from solar viewing glasses is shown in Fig. 3.
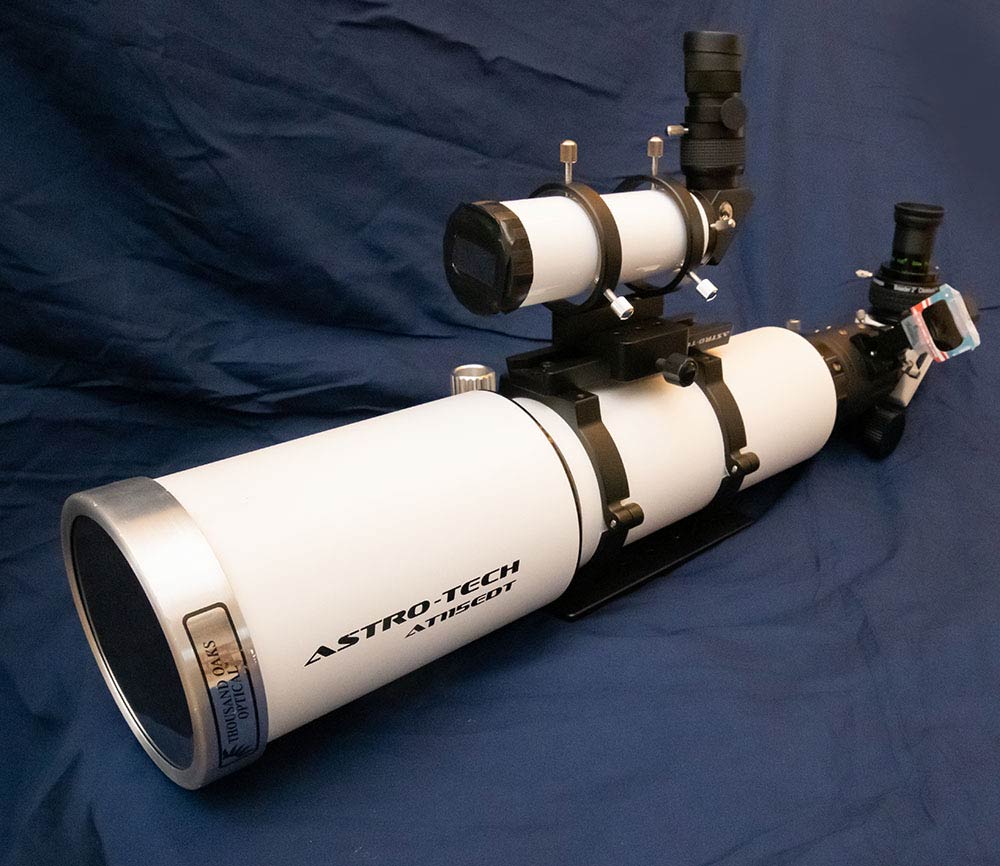
Figure 1
Astro-Tech AT115EDT 115mm f/7 (805mm focal length) refractor with a Thousand Oaks Optical front mounted solar blocking filter.
Click image to enlarge.
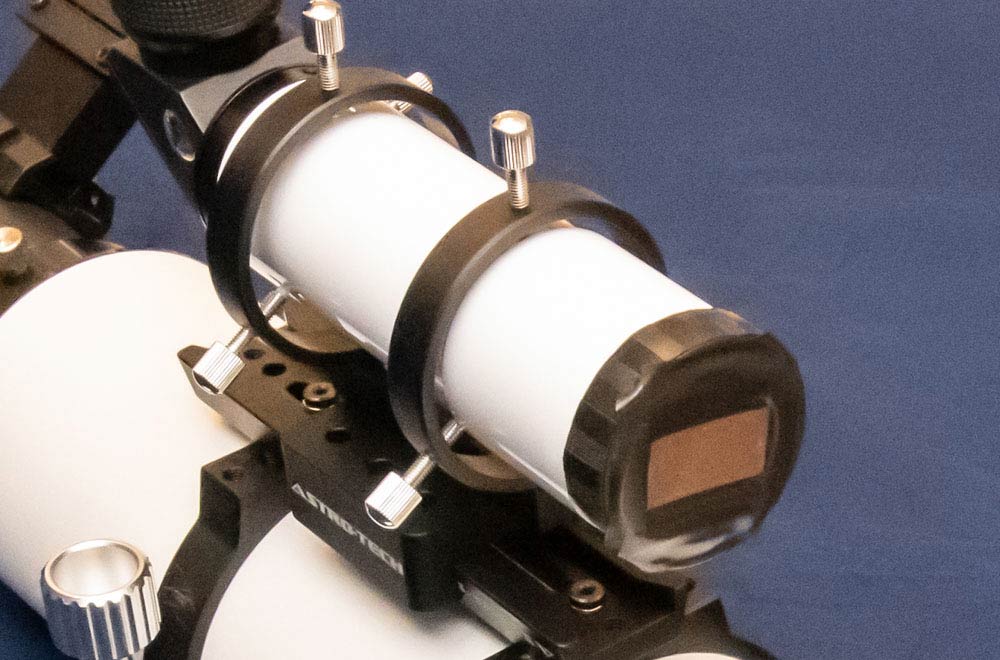
Figure 2
Finder scope with a DIY front solar blocking filter made from a dust cap and filter material designed for solar blocking.
Click image to enlarge.
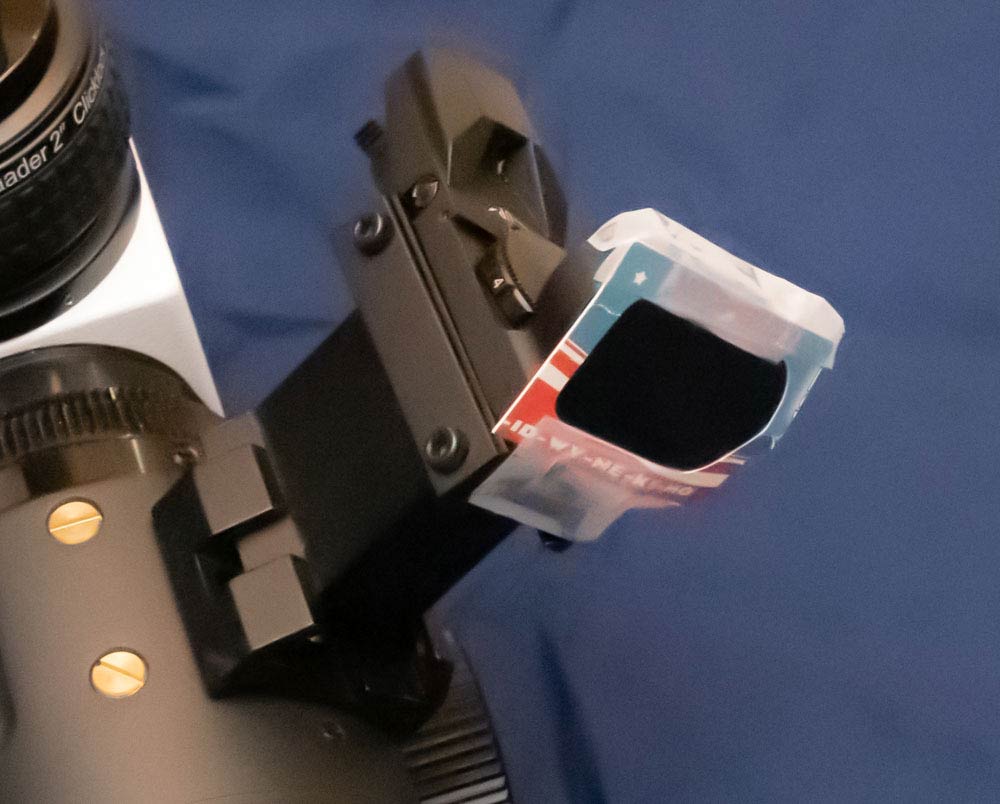
Figure 3
Red dot finder has been fitted with one lens from a pair of solar viewing glasses.
Click image to enlarge.
Camera settings are straight forward. Even with solar blocking filters, camera settings for a daylight exposure are a good starting point. Begin with a shutter speed of 1/250, f/8, and ISO 200. Start by focusing on the edge of the sun. If your camera has a live view mode, zoom in on a sunspot and refine your focus. Take a test exposure. Review the histogram to be sure the image is not over or under exposed. Expose for a mid-histogram image.
The image shown in Fig. 4 was made using the setting listed above. It shows a single large sunspot. The image shown in Fig. 5 was made with only slightly different settings. It shows multiple sunspots across the surface of the sun.
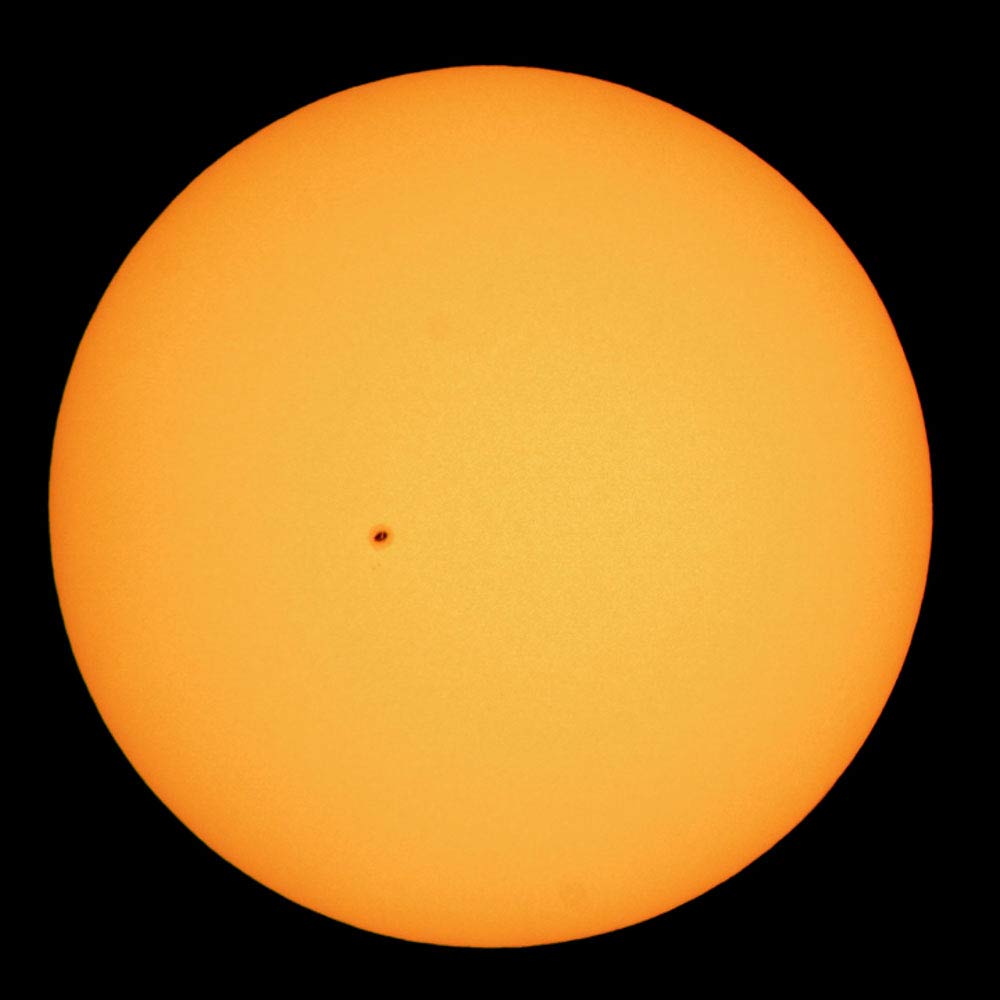
Figure 4
A single large sunspot. This image was made at 1/250, f/8, and ISO 200 though optics with an 840mm focal length.
Click image to enlarge.
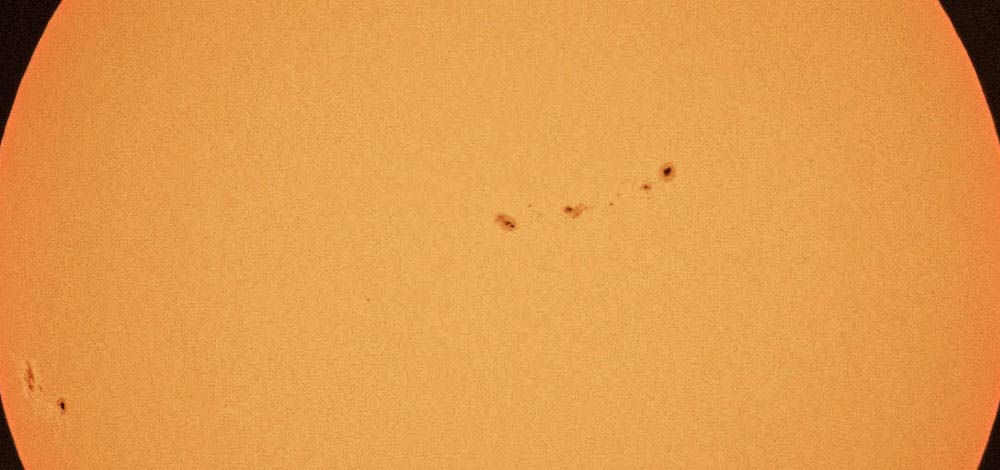
Figure 5
Multiple sunspots across the solar disk. This image was made at 1/500, f/8, and ISO 400 using optics with a 600 mm focal length.
Click image to enlarge.
When present, sunspots make an interesting subject to photograph. The SOHO website will help select times when sunspots are present. The best equipment at any given time is the equipment you have available. Front mounted solar blocking filters are best. Only limited processing of the images in Photoshop or similar software may be necessary. Please share your results with the Brazos Valley Astronomy Club's Yahoo group.