Page 6

How I Photographed the ISS - 350 Miles From my Telescope
By Tom Campbell
The first component of the International Space Station (ISS) was launched into orbit in 1998 and has been continuously occupied by humans since late 2000. Even after all these years, it continues to thrill and inspire those who see it pass silently overhead on clear, starry evenings.
Because of its sheer size and its large solar array catching sunlight, it is one of the brightest satellites in orbit and one of the most well-known. It can reach as bright as magnitude -6, being surpassed only by the Moon in the night sky.
Visually, the ISS appears as a bright star, slowly moving across the sky, crossing from one horizon to the other in a few minutes. It can easily be mistaken for an aircraft at first, but it is completely silent, even when it passes overhead and there are no blinking navigation lights visible.
The most common method to photograph the ISS is as a streak across the sky against a starry background. This technique is fairly simple to accomplish, as long as you have a camera capable of taking long-exposure photographs. Many of my readers know that I currently do all of my astrophotography via my trusty LG V20 smartphone. It is capable of holding the shutter open as long as 30 seconds at a time.
The image in Figure 1 is a composite of three separate 30-second photos, with about a 5-second pause between each.
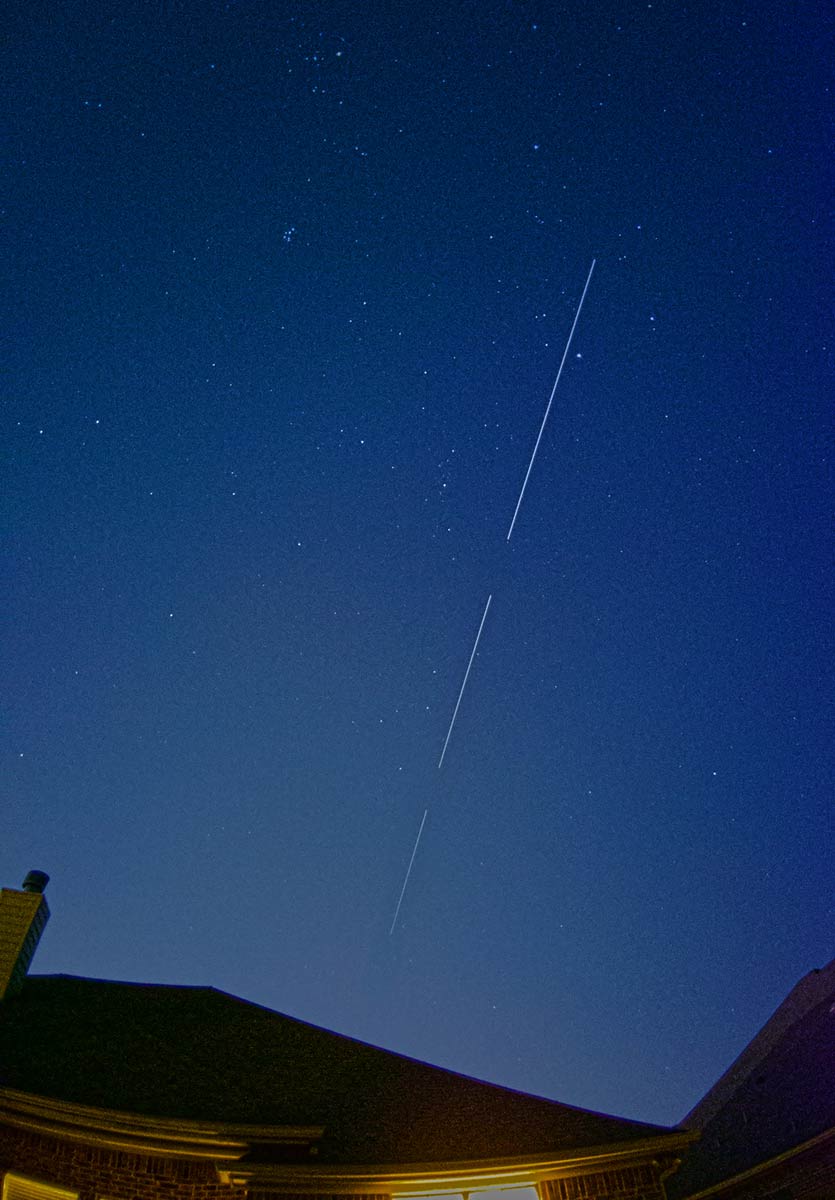
Figure 1
The International Space Station passing over the author's house on February 12, 2019.
Click image to enlarge.
Image Process #1
To get the image, I mounted my phone on a tripod, adjusted the settings, aimed it so that it would capture the right portion of the sky, and then snapped the shutter when the ISS appeared. After 30 seconds, the shutter closed and I snapped another image. The 5 seconds between each shot is due to me putting in a built-in 3-second delay after each shutter press in order to lessen vibrations.
I then layered and stacked all 3 images in photoshop to make it look like one continuous image. At this point, it would be possible to manually fill in the 5-second gaps with a white streak to make it appear continuous and simulate how it would have appeared if I had an unlimited exposure time, but I really wanted to be true to the image and only use real data.
Image Process #2
Another common way of photographing the ISS is to connect the camera to a telescope and capture it passing in front of the Sun or Moon. There are applications which can predict these passes for those so inclined. The result is an image of the Sun or Moon appearing as normal, but with a tiny shadow of the ISS somewhere on the image. These can look pretty cool, and in most cases are captured by taking short videos of the Sun or Moon during the time the ISS is supposed to pass in front of it. It takes less than a second for the ISS to move from one edge of the Sun to the other, so if you attempt this with still frames, you have to get extremely lucky.
I've wanted to try this, but at a given location, there are only a few visible ISS passes per month, and the odds of getting one which also passes in front of the Sun or Moon at your location is relatively rare. The limited opportunities I've had have been ruined by clouds or similar obstacle.
Image Process #3
The third way to photograph the ISS also uses a camera attached to a telescope, but this time using a high-magnification eyepiece to attempt to capture details of the space station itself. The biggest obstacles to this approach are the fact that the ISS is moving relatively quickly across the sky, it is changing orientation and brightness as it moves, and it is small enough to require high-magnification, which makes tracking it even more problematic.
In fact, I wasn't even sure it was possible until I saw someone post an online image of it last year. It was incredibly clear and detailed, and I assumed that he had faked the image using some 3D software. But over the coming months, I began to see more and more images of the ISS in various orientations and of different quality and I realized there had to be a way to do this.
I knew that like the ISS shadow transits of the Sun and Moon, video would have to be the way to go. The ISS would be in constant, quick motion, so instead of nudging the telescope every few seconds, I'd need to move it in a steady motion. After a day or two of thinking about things, I developed a plan.
The Plan
- First, I would mount the phone to a barlowed wide-angle eyepiece. This would give me the maximum field of view while still magnifying the image enough to possibly see a few details.
- Next, because of the speed, I would have to use the finder to track the object instead of the camera/eyepiece. This meant I would need to double-check my finder scope's alignment and make sure it was dead center with the image appearing in my phone.
- Finally, as soon as the ISS appeared visually, I would start recording and then quickly swing the scope to its location and try my best to keep the station exactly centered in the crosshairs of my finder.
My first opportunity came on April 8. I set up my Z12 Dob telescope about an hour ahead of time, performed laser collimation, aligned the finder, and connected my phone to the eyepiece. I was worried that something might go wrong, however. I'd get one 3-minute pass and if something didn't work, I'd have to wait a few more weeks before I could try again.
I heard the sound of a jet overhead and instinctively looked up. I live not too far away from a regional airport and a lot of aircraft, mostly regional jets and small private planes, fly right over my house as they make their final approach. I wasn't worried about mistaking one of these jets for the ISS, but it did give me an idea.
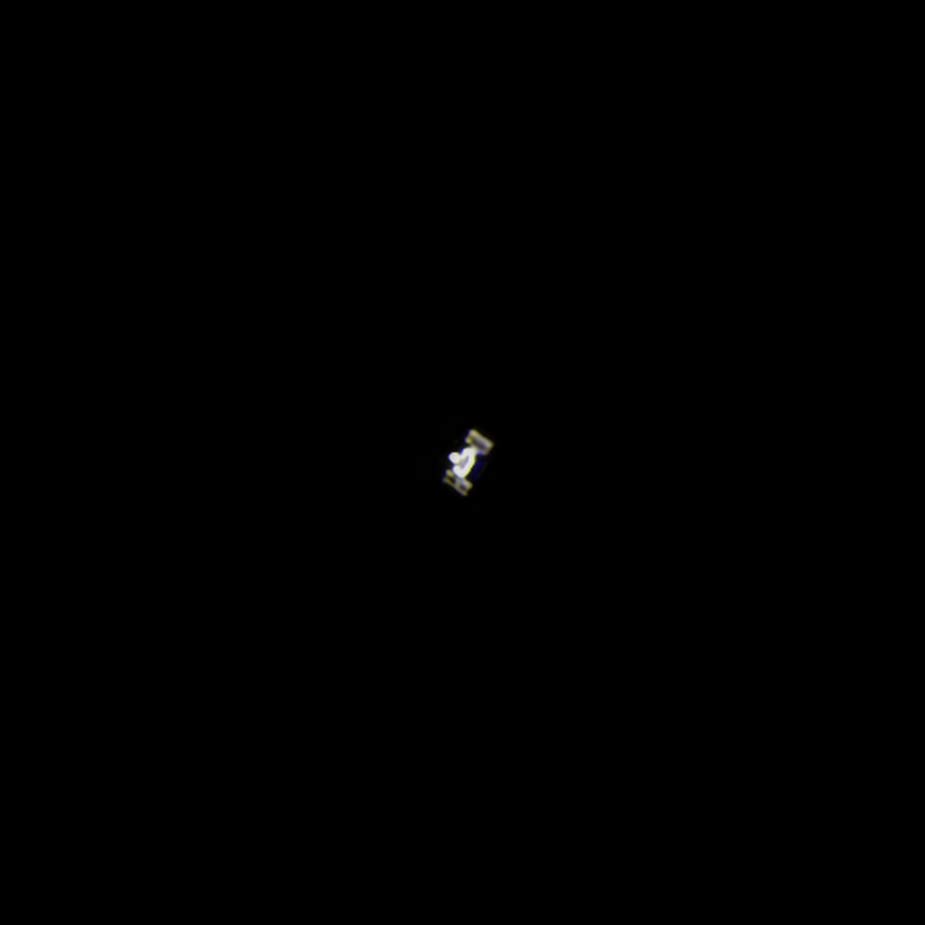
Figure 2
The International Space Station on April 8, 2019.
Click image to enlarge.
I swung my scope around to follow the jet as it went past, and pressed the video record button on my phone. As the plane crossed the sky, I tried my best to keep it centered in the crosshairs of my finderscope.
After a minute or so, the plane had disappeared and I turned off the recording. Was I able to capture anything? I played the video back on my phone. The video was extremely jerky as I kept pushing the Dob to try to center on the moving aircraft, but for most of the video, I could easily see the landing lights. Success! In post-processing, I would be able to separate the video into individual frames and only use the ones with a good, focused image.
More confident now, I practiced a few more times with tracking the planes that were closer to the horizon. Soon, it was time for the ISS to make its appearance. Right on schedule, a star appeared close to the horizon. It slowly rose in the sky, gaining in brightness as it did so. I swung the scope into position, pressed record, and followed the space station in the finderscope the best I could. A few minutes later, the ISS disappeared into Earth's shadow and I stopped the video.
I performed post-processing much the same way as I would do for a planet such as Mars. I converted the video into image frames and then threw out all frames that were blank or blurry.
I then started stacking the remaining images, in an effort to reduce camera noise and atmospheric distortions in the final image. But I soon noticed a problem: as the ISS got higher in the sky, its size and orientation changed slightly. This meant I'd only be able to stack 100-200 consecutive frames in order to prevent blurring.
Since the ISS was closest to my position (and therefore at its largest apparent size) right before it got lost in Earth's shadow, I concentrated my efforts on the end of the video. The final result is what you see in Figure 2.
I was elated that I was actually able to do this on my first try, but the image was far from satisfying for me. For one thing, it is overexposed, and although the solar panels show up well, the rest of the space station is too bright and many details are lost. In future attempts, I would need to keep a record of my exposure and ISO settings until I find the correct balance.
Also, I was only using a medium-powered eyepiece because I wasn't sure how easy it was going to be to keep the station in the field of view. Knowing now that it can be done, I wanted to try using a higher-powered eyepiece in an effort to squeeze out a bit more detail.
On June 6, I got my next chance. The ISS was only going to be about 30° above the horizon at maximum, but at least the skies were predicted to be clear. The seeing wasn't that great, but I wanted to give it a try anyway. I decided to use my trusty Explore Scientific 18mm eyepiece. It has a wide 82° apparent field of view, which would let me track the space station easier. For more magnification, I added my Celestron Luminos 2.5X barlow lens. This gave me about 208X magnification coming into the lens of the smartphone camera.
You can see my results in Figure 3. The image was larger and a bit more detailed, but still overexposed. The oblique angle of the space station at this altitude also has a tendency to squash details together, making them harder to discern. You can also see the atmospheric effects making the straight edges appear more jagged than they really are.
Still, I felt I was on the right track. I had a good camera/eyepiece combination. My main problem was atmospheric seeing and camera settings. I couldn't control the seeing, but I did make a note of my camera settings so I could reduce the shutter time and try to get a better image.
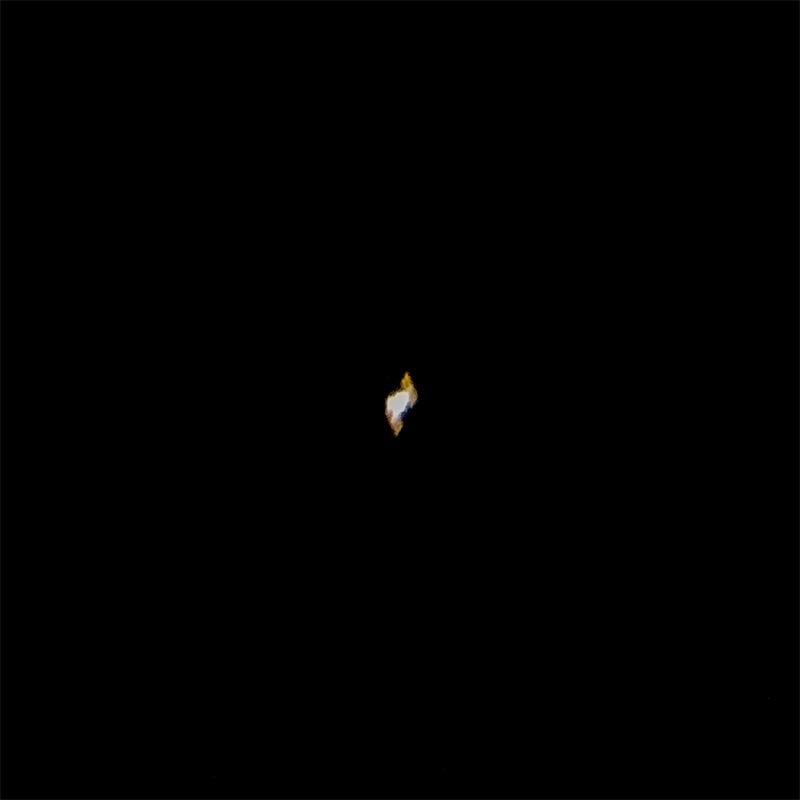
Figure 3
The ISS on June 6, 2019.
Click image to enlarge.
The next night, the ISS was scheduled to fly over Texas, offering me a high-altitude shot where the ISS would be positioned out of the thick atmospheric soup and only about 350 miles from my telescope, counting its 250 mile altitude.
As it turned out, the seeing was a lot better as well. I set up the telescope early, turned on the mirror cooling fan and adjusted my camera's settings on my phone.
*DING!* My phone alarm went off. Five minutes until the ISS made its appearance. I turned off phone notifications so they wouldn't interrupt my video recording and began visually scanning the sky in the general area of where it would appear.
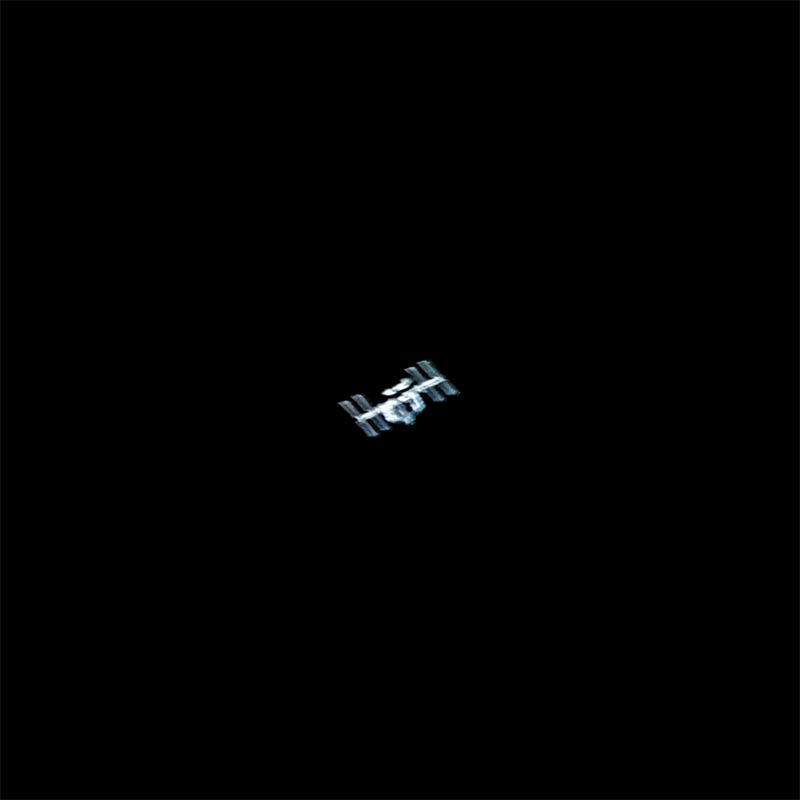
Figure 4
On June 7, 2019, the author took his best image of the ISS to date.
Click image to enlarge.
Once I spotted it rising above the housetops, I turned on the video record button on my phone and swung the telescope around and took aim. The higher it rose in the sky, the faster it appeared to move.
I occasionally moved a few seconds ahead of it and glanced at the phone to make sure I saw it streak past. Things seemed to be going well, until I hit Dobson's Hole. That's when an object is nearly at zenith and it becomes difficult to aim a Dobsonian telescope. Every slight change in altitude requires a big jump on the azimuth axis. This is similar to the meridian flip for equatorial telescopes, I suppose.
I turned the telescope 180° and took aim at the ISS again. Now I would be nudging the telescope slightly downward instead of upward as I tracked the rest of its journey across the sky. I continued following it until it faded into Earth's shadow, which was coincidentally right before it moved behind the roofline of my house.
And that was that. For better or worse, the pass was over and whatever data I got, I got.
When processing the video later, one of the most striking things was the difference in apparent size of the ISS as it crossed the sky. You can see some of this by comparing Figure 3 with Figure 4. Figure 4 was created from a stack of video frames taken near zenith (about 80°).
This final image is the best photo of the space station I have taken to date. I am very pleased with it, but I think it's possible to do even better. The focus is good but not perfect.
Also, since I had little difficulty in tracking the ISS at this magnification, I could push the magnification a bit more and try to squeeze even more details out of the image. Getting a recognizable view of one of the Soyuz supply ships docked at the station would be an attainable goal, I think.
Overall, this was a fun little project. A small, moving target presents a different set of challenges than your typical astrophoto, but the reward is an image of something that few others have ever recorded. It has excited me enough that I now want to try photographing other, even smaller satellites, such as the Hubble Space Telescope.
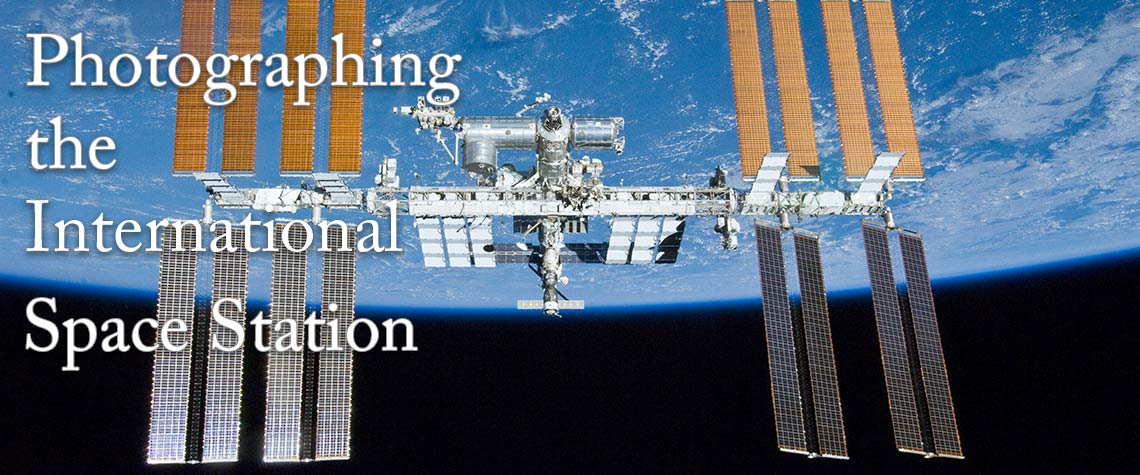
Image Credit - International Space Station in banner at top of page: NASA