Page 6

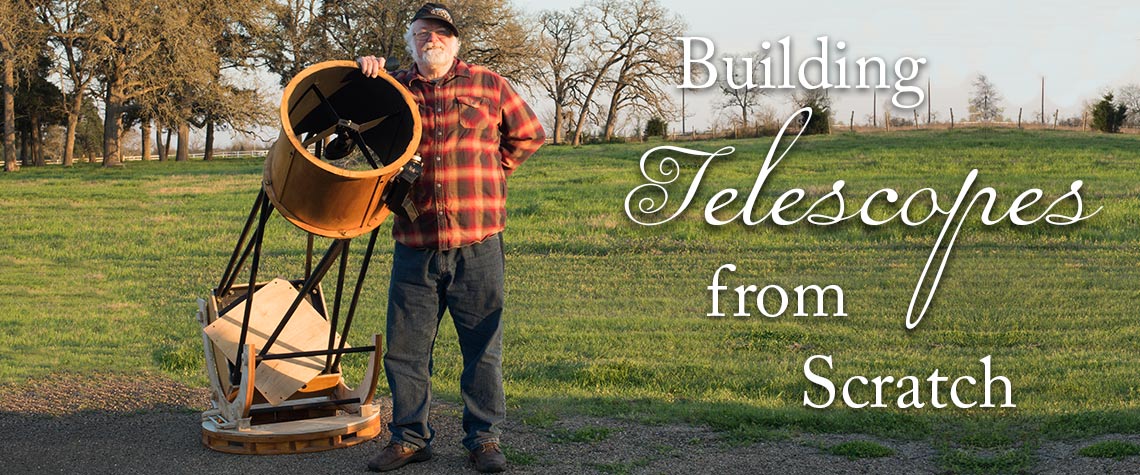
The Telescope Building Process
By Tim Cowden
Do I really need to build another telescope? Probably not. That won't stop me if I see a design or gadget that is an improvement over what I currently own. Half the fun is building something new. The other half is improving something old.
Starting the Process
The process usually begins with the acquisition of a piece of equipment or the raw material to build such. It also begins with an image, something from a magazine, the Internet, or seeing someone else's telescope at a star party. With that image in mind, it is hard to pass a junk pile without thinking what might be usable as part of that image. With a large Dobsonian telescope as the image, aluminum tubing starts collecting long before the telescope building process starts.
Primary Variable
The heart of any telescope build is the glass. The nature of the optics determines the size and shape of everything else. Again, long before the building begins, the search for the glass goes on. A strut dob almost requires a mirror 12 inches or larger for the needed counterweight the glass provides. It also constrains the focal length lest the upper cage have too much moment arm for the mirror weight. Everything is connected in some way and all the variables are in motion.
The size of mirror for the dob I had in mind was in the 14 to 16 inch range. I collected glass shelves with the idea of cutting out glass disks from the 1/4 inch glass and stacking them in a kiln for fusing. I cut one disk, a dirty and hazardous task, and then found a sheet of 3/4 inch broken table top glass on the side of the road. There was enough whole glass to cut out a 14 inch disk. This was another dirty and hazardous task, with face shield, dust mask, and spraying water near power tools, but with luck, I would only need to do it once. I successfully cut out the disk but stress caused a couple of cracks to wind their way across the glass over the next few days. Oh well, back to the drawing board.
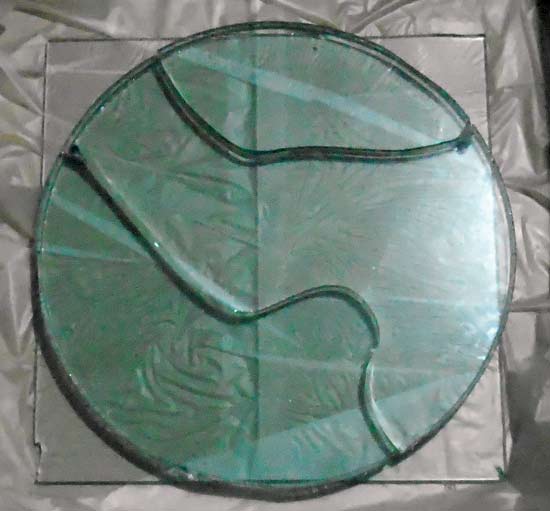
Several days after fusing layers of glass, stress cracks appeared.
Locating Telescope for Rebuild
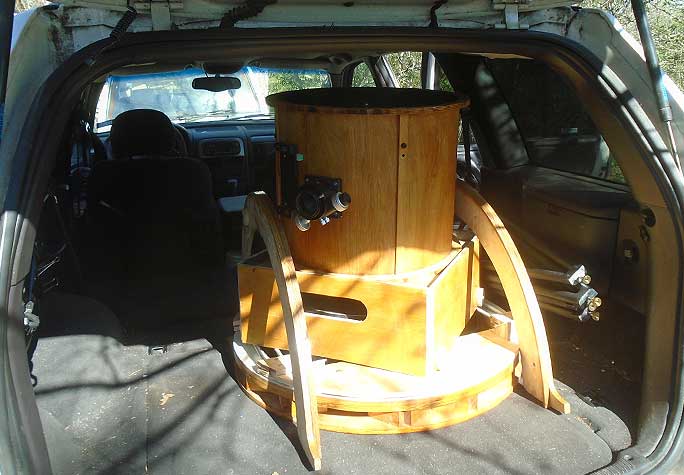
The chance encounter with a 16 inch fiber tube telescope for sale relatively cheap changed my plans. It sat in a consignment shop for months and I bought it, eventually. It was big and bulky, and when I took it to the Texas Star Party, I packed a tent, sleeping bag, and most of my clothes in the tube. As hard as it was to transport and use, it was a good candidate to rebuild the scope as a strut tube dob. I now had my glass.
What I wanted to improve over the fiber tube scope was the size and weight of individual components, height of the eyepiece, and improved motion. I would also change the focuser. Judging by the finished scope, I succeeded.
Mirror Box
The first thing I built was the mirror box. Built slightly larger than the mirror, it is about six inches deep, 19 inches square. The top has a sixteen inch circle cut out of it. There is no permanent bottom. The corners of the box are secured with epoxy using techniques I learned building boats. The inside is painted flat black. The upper cage looks like a drum, the body made of thin door skin plywood rolled into a cylinder and reinforced with plywood rims. The backing for the focuser is another layer of door skin.
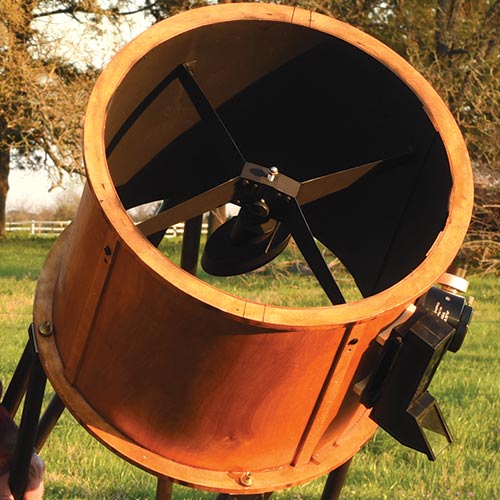
Spider
The photos below compare the old flimsy spider on the right with the replacement I built on the left, before it was painted black.
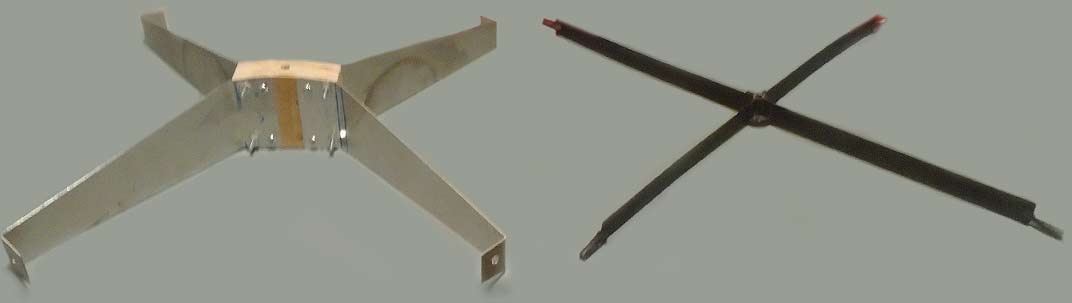
The spider I built on the left is much more reliable than the original.
Struts
The struts are made into permanent triangles with aluminum tubing for the long legs and angled aluminum for the base. A combination of pop rivets and thickened epoxy hold everything together. As the tubing had been salvaged from random sources, the thickness of the tube wall differs. The diameter is one inch for all. The heavy wall tubing supports the cage against gravity, the thin wall tubing counters the lower left - right stresses.
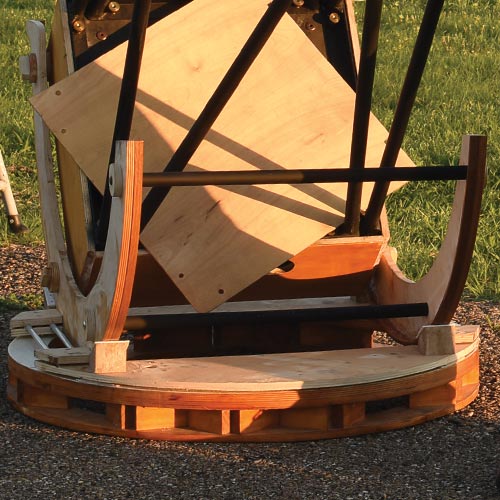
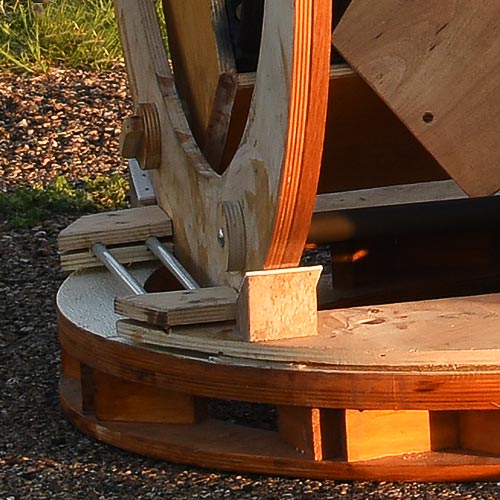
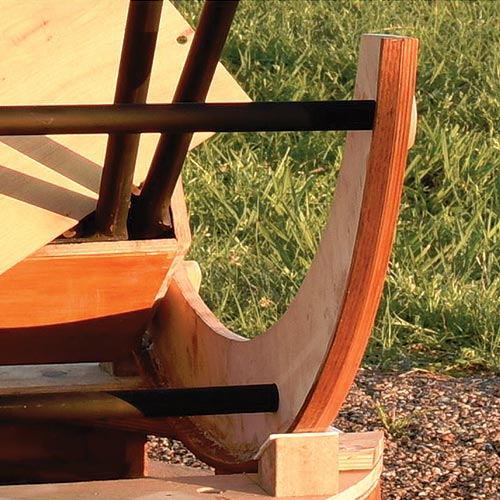
Base
The base is a ring thirty inches in diameter and two and a half inches wide. The design is a flex rocker, with another thin platform linked by flexible rods and supporting the Teflon pads that the large rockers ride on. Bearing riding on the inside of the support ring hold the flex rocker in place. The support ring is covered with textured fiberglass reinforced plastic. This is as low a profile rocker as you can get without digging a hole. A small step stool is all that is needed for me to see into the eyepiece.
More Telescope Parts
The rockers are secured to the mirror box by home made wing bolts, and knurled nuts secure the struts to the mirror box and the upper cage. The mirror cell has a six point suspension frame that rides on a backing plate suspended from the front of the mirror box.
The mirror box, with the mirror in it, is the heaviest single unit at 42 pounds. Long slots in the side of the box act as handles and cooling vents. The upper cage weighs about ten pounds with the focuser and secondary mirror. The struts weigh about seven pounds and the rocker and bottom platform weigh about 16 pounds all told. Weight could be further reduced by carving away at some of the wood and replacing the oversized four inch secondary with a lighter three inch mirror.
Performance Results
The telescope got a good workout at the Messier Marathon, and I am pleased by its performance. There is more finishing work to do, but that shouldn't prevent its use.
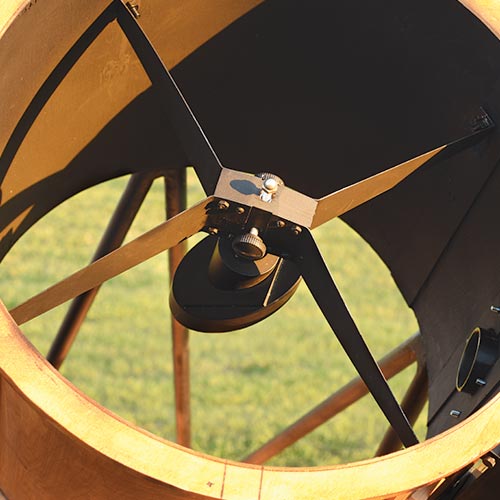
Finished spider
Drum body
Telescope base
Base closeup
Telescope rockers
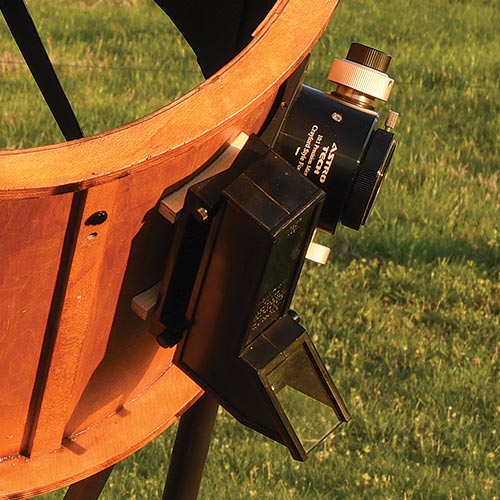
Astro Tech focuser
A tent, sleeping bag, and most of my clothes
are in the tube and I'm ready for a star party.
